Grilling Recipes
Smoky, Juicy, Herb-Finished Tomatoes Straight Off the Grate
Last updated: July 23, 2026
A tomato is mostly water held inside a thin skin, which means the grill is actively hostile to it. It wants to soften, split, and drop through the grate into the coals. Everything in this recipe exists to stop that from happening.
Get it right and you get something an oven cannot copy. The cut face caramelizes hard and fast while the middle stays hot and juicy, and the fire leaves behind real smoke flavor.
What Live Fire Gives You That an Oven Cannot
An oven surrounds food with hot air, so a tomato warms through evenly and slowly gives up its water. That is how you get roasted or slow-dried tomatoes, and it is a good thing, just a different thing.
A grill works by direct radiant heat coming up from below. The cut face hits metal and fire at once, so sugars brown in minutes while the inside barely has time to heat through. You end up with a crisp caramelized surface sitting on top of a hot, still-juicy interior.
Then there is smoke. Juice drips onto the coals, burns, and rises back as vapor that settles on the food. No oven produces that, and it is the reason to drag a delicate tomato out to the grill at all.
The contrast is the payoff: bitter char, sweet concentrated tomato, and a burst of raw-tasting juice in one mouthful.
Pro observation: The smell tells you when the fire is right. You want warm sugar and toasted skin, not acrid black smoke. Sharp, stinging smoke means the drippings are burning too hard and the flavor is turning bitter.
Ingredients
Kitchen Measurement Converter
Quickly convert between common cooking measurements without leaving the recipe. Pick a category, enter a value, and the result updates instantly.
Choosing Tomatoes That Survive the Grate
Buy Firm, Not Dead-Ripe
This is the most important decision you will make. A soft, fully ripe tomato has already broken down its own cell walls, and it will collapse into mush the moment it hits heat.
Press the shoulders with your thumb. You want a tomato that gives slightly and pushes back, with taut skin and no soft spots.
Size and Variety
Medium vine and Roma tomatoes are the safest picks, because Roma types have thicker walls and fewer seed pockets than any heirloom.
Large slicers are too watery and too wide, and cherry tomatoes fall through without a basket.
Olive Oil
Brush the tomatoes and the grate with a cheap or neutral oil, since high heat destroys the flavor of good oil anyway.
Save your best extra-virgin for the finish, where its peppery notes actually survive.
Herb Swaps
Basil, parsley, chives, mint and tarragon are all soft herbs and can stand in for one another freely. Oregano and marjoram lean Mediterranean and work beautifully.
Thyme and rosemary are the hardy options. Use less of them, since they are far stronger than basil by volume.
Equipment
- Charcoal or gas grill
- Stiff wire grill brush
- Long tongs
- Thin metal spatula
- Grill basket or perforated pan
- Paper towels and oil
Honest recommendation: A grill basket or perforated pan is worth owning for smaller tomatoes. Anything under two inches across slips between standard grate bars, and a basket lets you shake and toss instead of flipping by hand.
Before You Fire Up the Grill
1. Halve through the equator, not the stem. Cutting across the middle gives each half a broad, flat face that sits stable on the grate and offers the most surface area for caramelizing. Cutting pole to pole gives you two rocking, rounded wedges that char unevenly.
2. Salt the cut faces and let them drain. Lay the halves cut side up, salt them, and wait 15 minutes while beads of liquid rise to the surface. Blot them dry with paper towels before they go near the fire.
3. Understand why that matters. Surface water has to boil off before browning can start, so a wet tomato steams instead of searing. Wet flesh also grabs onto hot metal and tears when you lift it.
4. Build a medium fire. On charcoal, that means you can hold your hand five inches above the grate for about five seconds. On gas, that is roughly 400 to 450 degrees Fahrenheit with the lid down.
How to Grill Tomatoes Step by Step
Cut and Salt
Halve each tomato across its equator with a sharp serrated knife. A dull blade crushes the shoulders and starts the collapse before you even reach the grill.
Arrange the halves cut side up on a tray, sprinkle the cut faces evenly with kosher salt, and leave them 15 minutes.
Blot Dry and Oil
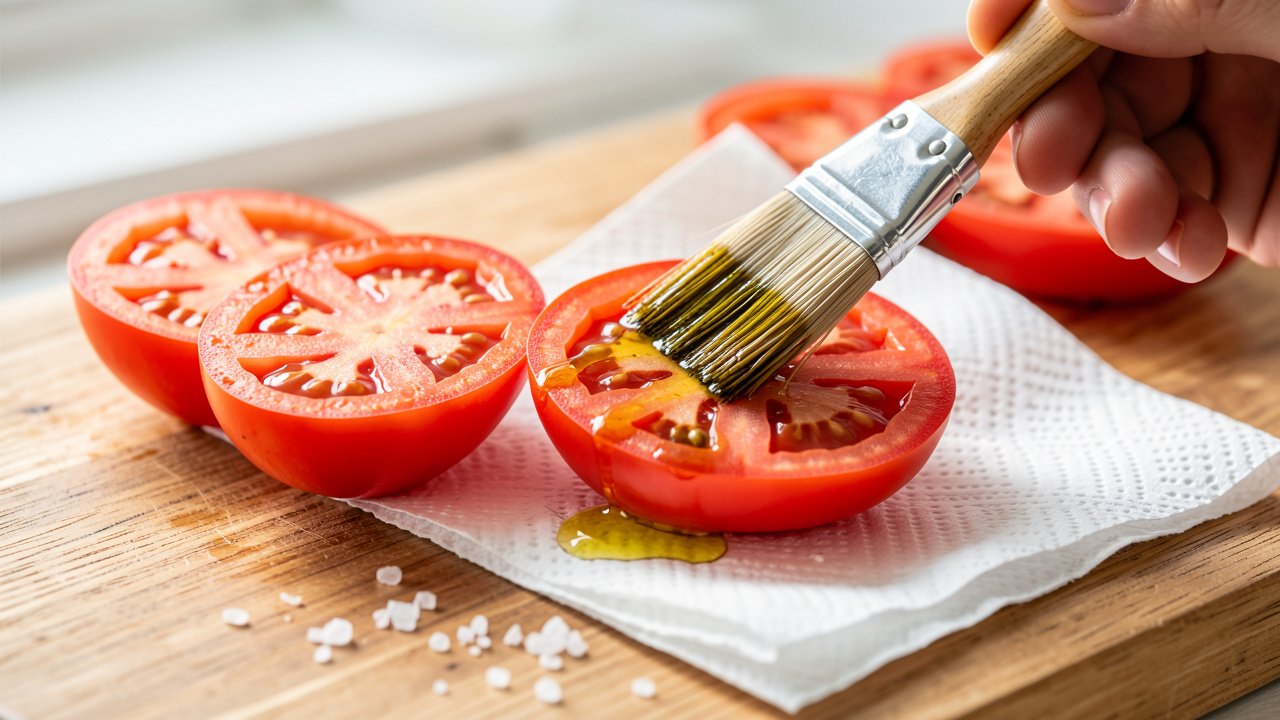
Press paper towels firmly against the cut faces to lift the pooled liquid. The surface should look matte, not glossy and wet.
Brush every surface lightly with oil, including the skin. Oil helps release from the grate and carries heat into the flesh evenly.
Get the Grate Hot, Clean and Oiled
Preheat until the bars are genuinely hot, then scrape them hard with a wire brush. Old carbon deposits are what tomato flesh grips onto.
Fold a paper towel, soak it in neutral oil, hold it with tongs, and wipe the bars until they shine. Hot, clean and oiled matters more here than for a steak, because a steak has fat and structure to spare and a tomato has neither.
Lay Them Cut Side Down and Walk Away
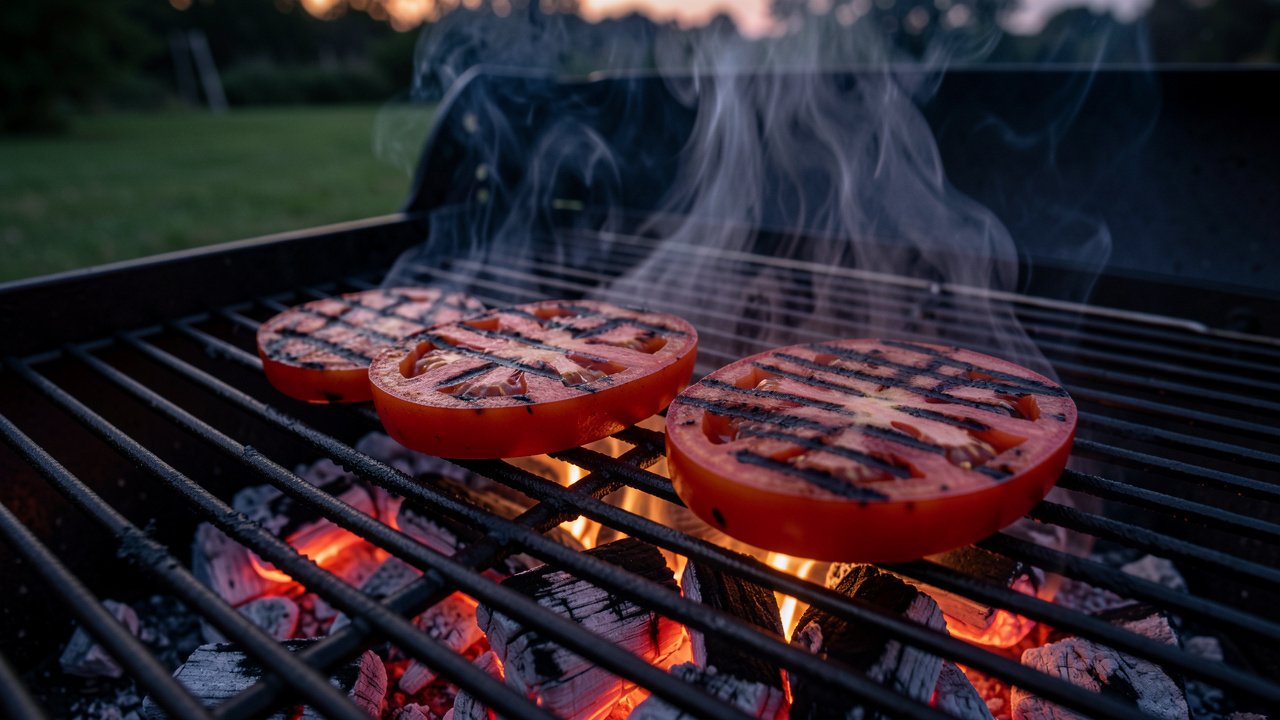
Place each half cut side down over medium heat, spacing them so air moves between them. Now do nothing for 4 to 6 minutes.
They will feel stuck at first, and they are. As the surface caramelizes it shrinks and releases on its own. Poking, sliding, or lifting early is the single most common way people destroy grilled tomatoes.
Look for dark bar marks and a faint sizzle. If you hear violent spitting or see flames licking up, slide them toward a cooler zone.
Flip Once, Briefly
Slide a thin metal spatula fully under each half and turn it skin side down. Do not use tongs on the sides, which squeezes and splits them.
Give them 2 to 3 minutes on the skin. The skin acts as a natural container, holding the shape while the last of the interior heats through.
If you are using hardy herbs, this is the moment to lay thyme or rosemary sprigs on top so the heat and smoke draw out their oils without scorching them.
Read the Doneness and Finish with Herbs
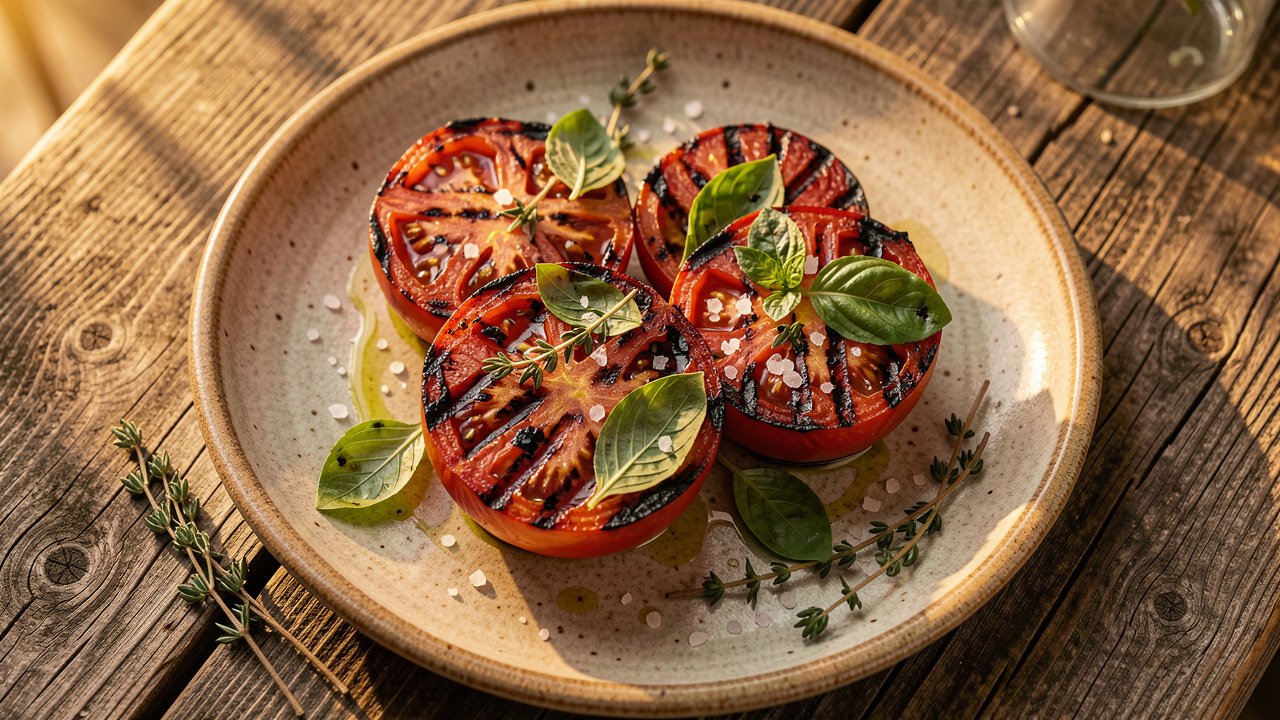
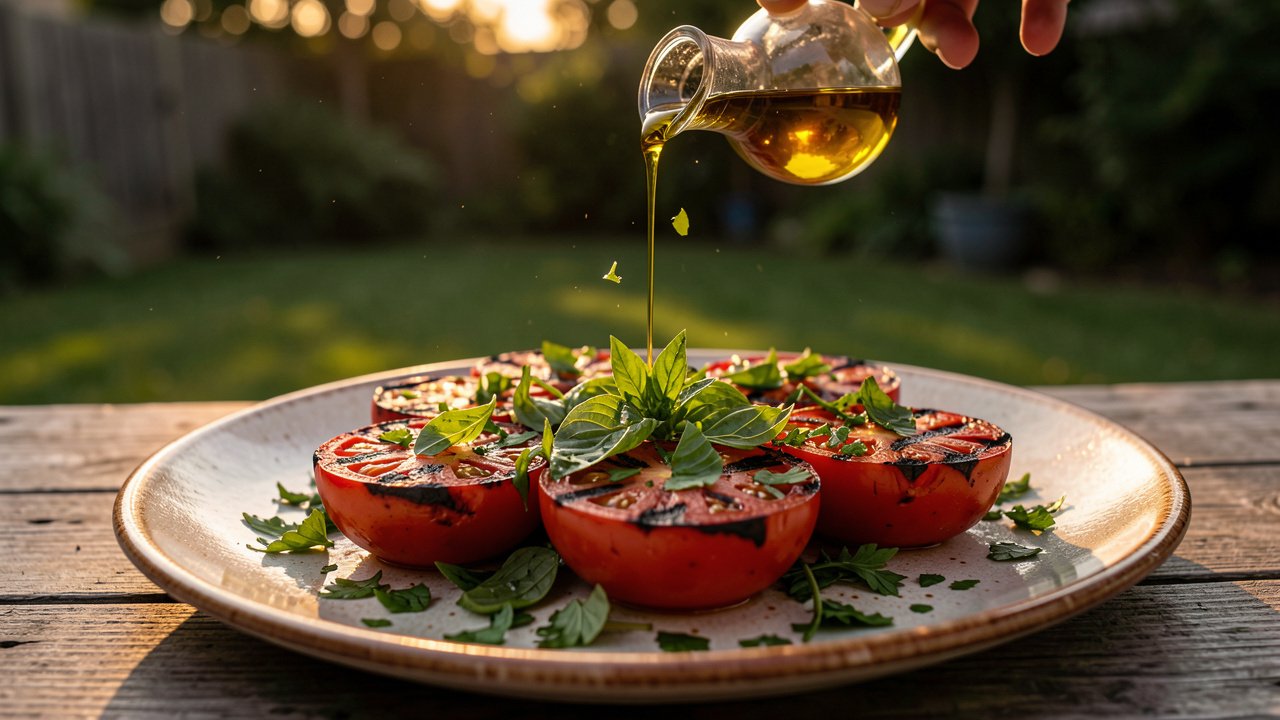
They are ready when the cut faces carry clear grill marks and the shoulders have slumped slightly but the halves still hold their shape. Past that, the skin splits and they begin to weep juice onto the coals, which means you have gone too far.
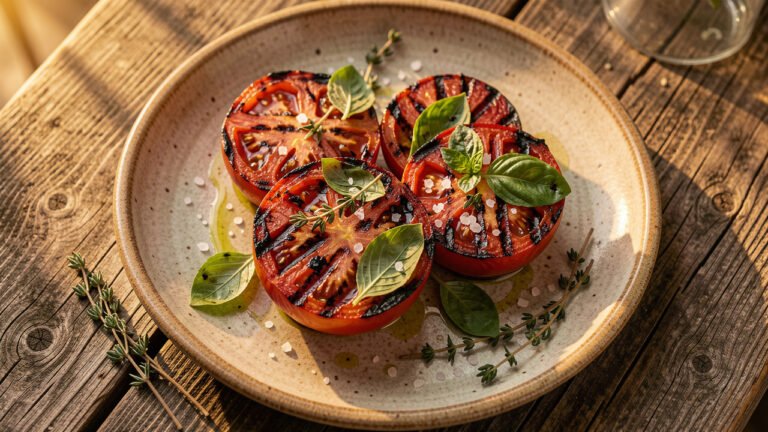
Move them to a platter off the heat. Only now scatter the torn basil, chopped parsley and grated garlic over the top, then finish with your best olive oil, a splash of red wine vinegar, and flaky salt.
Grill Tips From Real Backyard Testing
Medium heat beats maximum heat every time. Screaming fire blackens the skin before the middle is even warm, and the flesh loses structure and slides apart while the outside is still building color.
Keep an unlit zone on the grill. If a half starts weeping or a flare-up climbs, move it there instead of pulling it off entirely.
Grill two more halves than you need. One or two usually surrender no matter how careful you are.
Toss soaked wood chips onto charcoal right before the tomatoes go on. Their short cook time means you need concentrated smoke early to taste it at all.
Ways to Change Up Fire-Grilled Tomatoes
Serving Suggestions for Charred Tomatoes
Serve them warm or at room temperature. They are actually better after 10 minutes of resting, because the juices settle and the herbs bloom in the residual heat.
- Piled on grilled sourdough rubbed with garlic
- Alongside grilled steak, chicken or sausages
- Smashed into a rough sauce for tomato basil pasta
- Layered into a warm version of tomato mozzarella salad
- Chopped into a smoky tomato salsa
- Spooned over creamy polenta or white beans
Nutrition Facts
Values are estimates per serving of two tomato halves and vary with tomato size and how much oil you use.
Make-Ahead Tips
You can cut, salt, drain and blot the tomatoes up to four hours ahead. Keep them cut side up on a rack at room temperature so air keeps drying the surface.
Chop the herbs no more than 30 minutes ahead, since basil bruises and darkens fast once cut. The grilling itself cannot wait: these are best within an hour of the fire, while the char is still crisp.
Storage, Freezing & Reheating
Common Grilling Mistakes to Avoid
Troubleshooting Tomatoes on the Grate
They tore in half when you lifted them? They were not ready yet. Give the next batch two more minutes and let the crust release itself.
Skin blackened but the middle is cold? The fire was too hot. Bank the coals to one side and finish over indirect heat.
They came out watery and pale? The surface was still wet, or you crowded the grate and trapped moisture steamed them.
Everything tastes bitter? Either the herbs went on over the fire, or heavy flare-ups coated the food in sooty smoke.
Half of them fell through? They were too small for your grate spacing, so use a basket next time.
Fresh Herbs and Live Fire: What Goes On When
Herbs split into two camps, and the difference decides when they touch heat. Soft-leaf herbs like basil, parsley, mint, chives and cilantro are thin, water-rich, and full of volatile aromatic compounds that evaporate at low temperatures.
Over live fire those compounds vanish in seconds and the leaf itself scorches, leaving a burnt, bitter taste in place of the fragrance you wanted. So they go on last, off the heat, where residual warmth releases their perfume without destroying it.
Hardy herbs are built differently. Thyme, rosemary, oregano and sage have tough, resinous leaves with waxy coatings that protect their oils, so a few minutes of gentle heat draws out flavor instead of killing it.
That is why the thyme sprigs join during the brief skin-side stage while the basil waits on the platter.