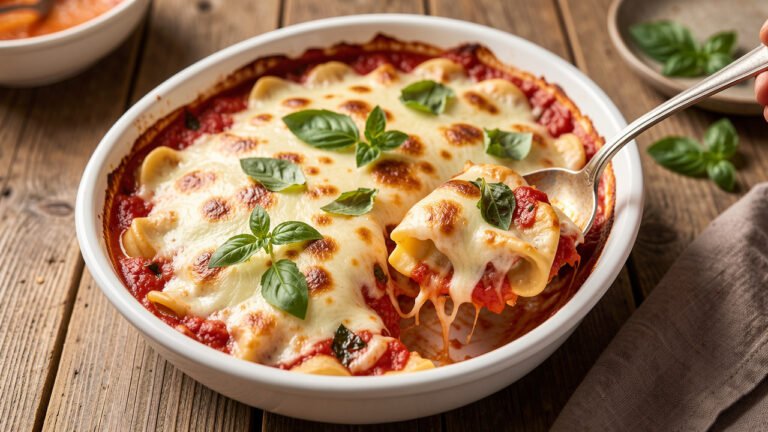
Pasta Recipes
Assemble Today, Bake Tomorrow
Last updated: July 23, 2026
Most pasta bakes are written to go straight into a hot oven. People make them a day early and wonder why dinner came out gluey. This one is built backward from the fridge.
I tested it both ways in one week. The chilled pan won, but only after I stopped cooking the tortellini through and started adding more liquid than felt reasonable.
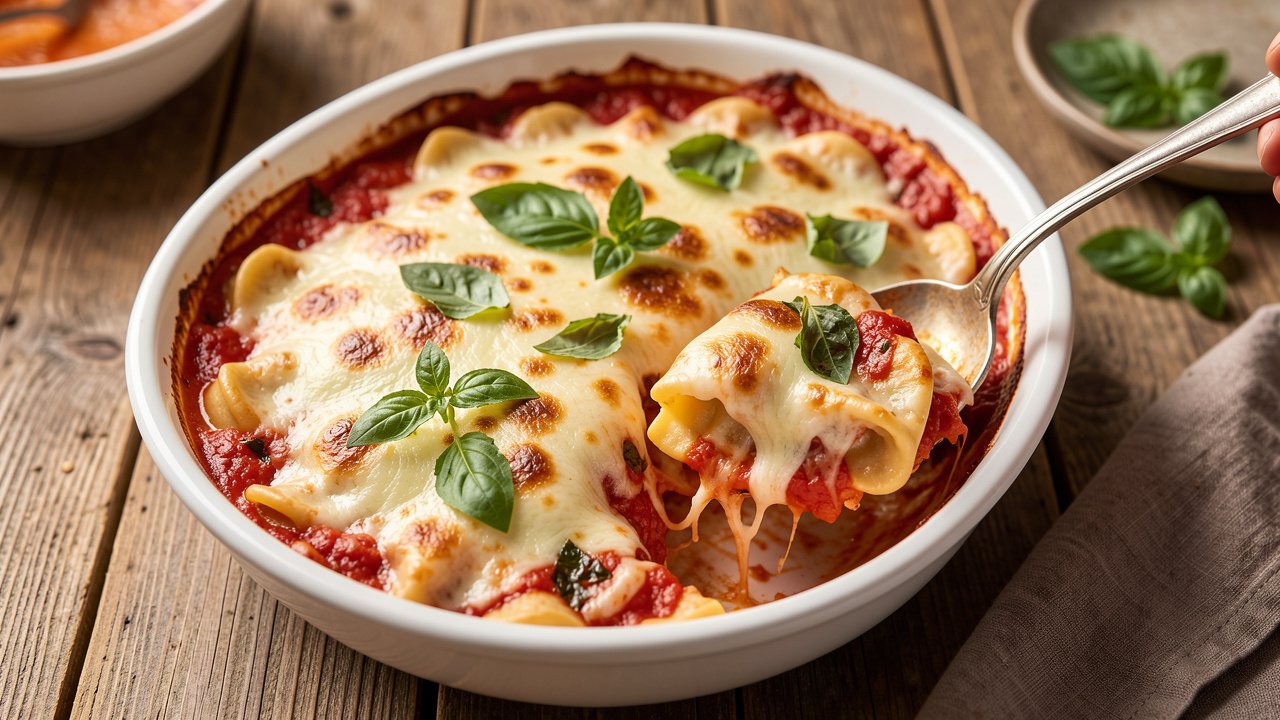
Why This Tortellini Bake Survives a Night in the Fridge
Cheese tortellini is already stuffed, so there is no filling to mix and no layering to do. You are building a casserole in one bowl.
The make-ahead part takes thought. Pasta is a sponge and does not stop absorbing when the stove goes off, so between fridge and oven it has hours to pull liquid from the sauce.
So the recipe compensates. The tortellini leaves the water still firm, and the sauce goes in looser than any pasta bake photo would suggest.
Kitchen observation: Press a spoon into the assembled dish before it goes in the fridge. Sauce should well up around it within a second or two. If it does not, the dish is already too dry.
Ingredients
Kitchen Measurement Converter
Quickly convert between common cooking measurements without leaving the recipe. Pick a category, enter a value, and the result updates instantly.
Ingredient Notes & Substitutions
Cheese Tortellini
Refrigerated is the default, and frozen is arguably better since it needs no boiling. Dried shelf-stable tortellini drinks the most liquid, so add an extra half cup of water.
Crushed Tomatoes
Canned crushed tomatoes have enough texture to cling and enough liquid to spare. A jar of home-canned crushed tomatoes is ideal.
Fresh Basil
Buy more than looks necessary: half goes into the sauce, half gets torn over the finished bake. Dried basil can stand in for the cooked half only.
Cheese
Low-moisture mozzarella browns well without flooding the dish. Grate your own, since bagged shreds carry anti-caking starch that turns grainy over a long bake.
Water or Broth
The ingredient people leave out, and the one that saves the dish. Use broth for savory depth, or pasta water for starch that helps the sauce cling.
Equipment
- 9×13 inch baking dish
- Large pot for pasta
- Wide saucepan or skillet
- Colander
- Box grater
- Foil or a tight lid
Metal is the easiest 9×13 for make-ahead. Glass works too, with one caveat covered further down this page.
Before You Start
1. Decide your timeline first. Baking today and baking Thursday are different recipes, and the pasta timing changes accordingly.
2. Shred the cheese and set it aside. It does not go on the casserole yet. Bag it and park it next to the dish in the fridge.
3. Clear fridge shelf space first. Hunting for a flat cold spot while food cools on the counter eats into your two-hour safety window.
4. Salt the pasta water properly. It is the only chance the tortellini gets to be seasoned from the inside.
Step-by-Step Instructions
Build the Tomato Base
Cook the onion in olive oil over medium heat for 5 minutes, until soft, translucent, and no longer sharp-smelling.
Stir in the garlic and tomato paste for 1 minute more. The paste should darken from bright red to brick and smell sweet rather than metallic.
Simmer the Tomato Basil Sauce, Then Loosen It
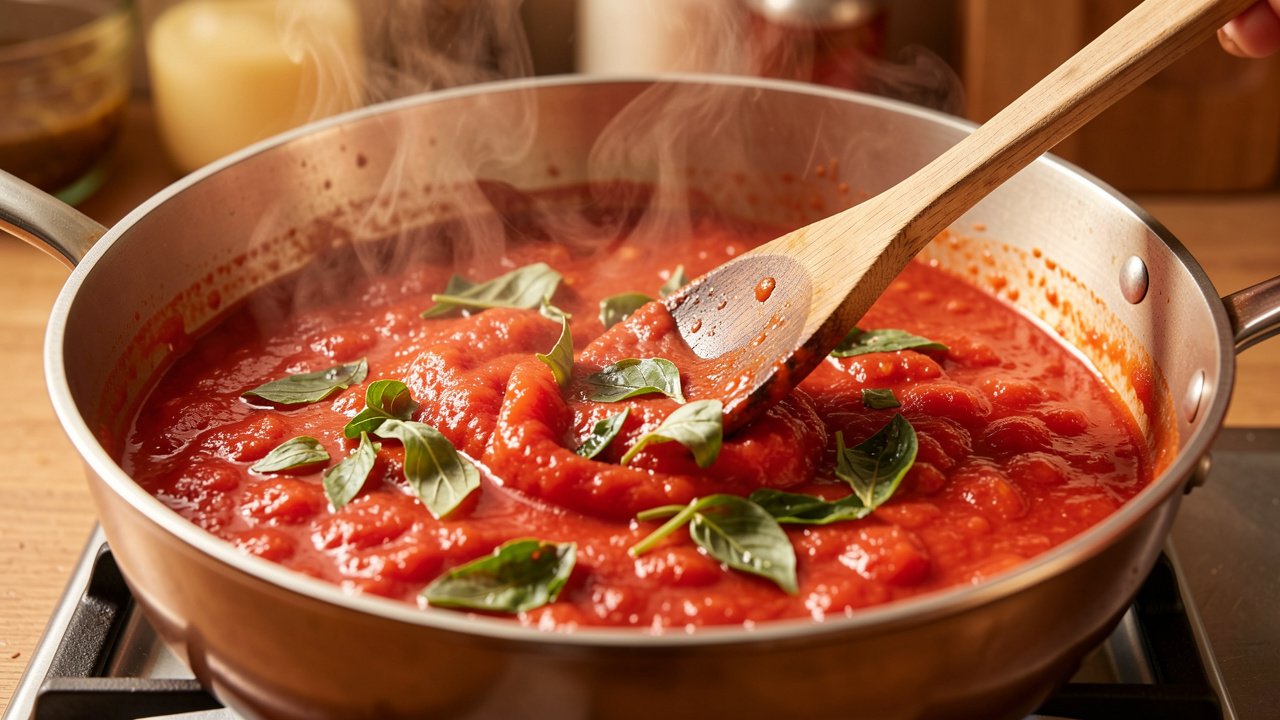
Add the crushed tomatoes, water or broth, oregano, sugar, pepper flakes, salt, and black pepper. Simmer bare for 12 minutes, stirring now and then.
Off the heat, stir in the cream and half the basil, torn. It should look slightly too thin, more like a thick soup. Do not reduce it.
Undercook the Tortellini
Boil the tortellini in well-salted water, but pull it 3 minutes before the package time if you are chilling the dish, or 1 minute short if baking right away. It should bite firm and slightly chewy.
Drain and rinse under cool water. Rinsing is unusual for pasta, but it stops carryover cooking and washes off starch that would glue the pieces together.
Combine and Assemble
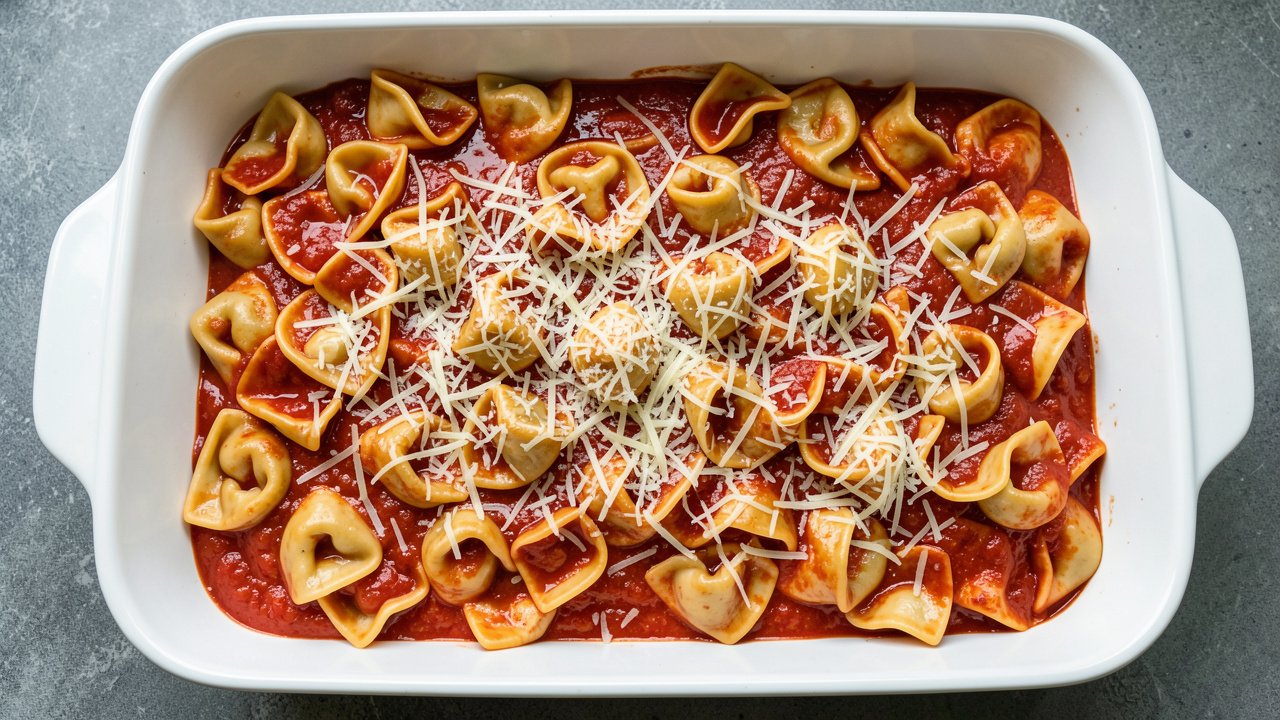
Fold the drained tortellini into the sauce, then spread it into a 9×13 dish so no corners sit dry and exposed.
Scatter the Parmesan over the top now. Being a hard cheese, it takes the long bake without turning rubbery.
Cool, Cover, and Chill
Let it sit uncovered until it stops steaming, about 30 to 40 minutes. Press wrap or foil tightly over the surface and refrigerate up to 2 days.
Do not stretch cooling past two hours. In a warm kitchen, set the dish in a shallow tray of cold water.
Bake Covered, Then Add the Cheese
Take the dish out while the oven heats to 375F. Bake covered 40 minutes from fridge-cold, or 25 minutes at room temperature.
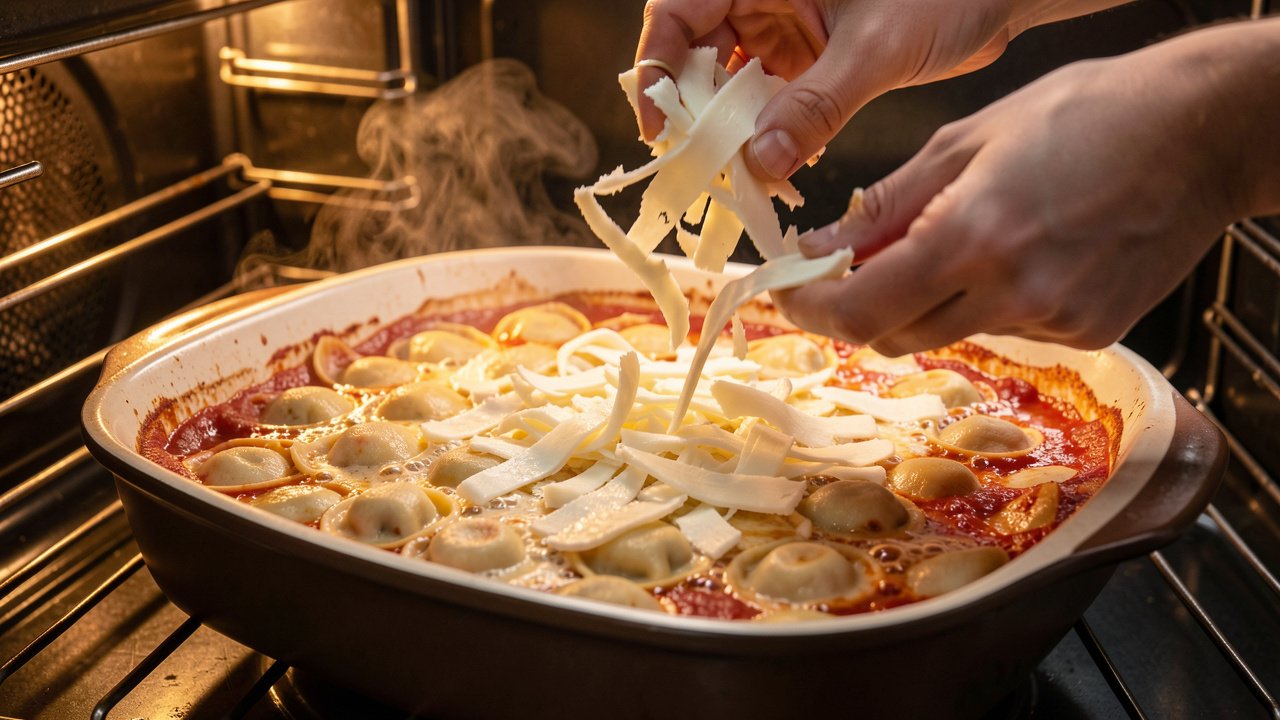
Uncover, scatter the mozzarella over the top, and return it for 12 to 15 minutes. You want edges bubbling hard and cheese blistered in spots.
Rest, Then Finish With Basil
Let it stand 10 minutes. Straight from the oven the sauce is too loose to spoon neatly.
Tear the remaining basil over the top just before serving, still green and glossy.
The Make-Ahead Rules That Actually Matter
Five things decide whether a chilled pasta bake comes out right. Each fixes a specific failure, and skipping any of them shows up on the plate.
1. Never fully cook the tortellini
Pasta absorbs for as long as liquid is available. It swells overnight in the fridge, then again during a 50 minute bake.
Tortellini already at perfect doneness has nowhere left to go, so wrappers split and the dish turns to mush. Frozen tortellini can skip boiling entirely if you add 15 minutes to the covered bake.
2. Make the sauce looser than looks right
A sauce that photographs beautifully at assembly will be dry paste by tomorrow evening. That is not a flaw in the recipe; it is the pasta doing its job.
The extra cup of liquid exists purely to be absorbed. Add it deliberately rather than by eye.
3. Cool it before it goes in the fridge, then cover tightly
A warm dish sealed under foil steams itself. Condensation collects on the underside, drips back down, and waters the top layer into something pale and soggy.
There is a safety side too. Bacteria multiply fastest between fridge temperature and hot, so the dish must be cool and refrigerated within two hours of leaving the stove.
4. Cheese goes on at the end, not before the fridge
Mozzarella added at assembly bakes under its own melted layer. It tightens, goes rubbery, and weeps orange fat onto the surface.
Added for the final 12 to 15 minutes it melts once, browns in patches, and stays stretchy. Hard cheeses are the exception, having far less moisture to lose.
5. Basil is a finishing herb
Fresh basil blackens and turns bitter after a night in cold acid and an hour of heat. What survives is dull and tea-like, with none of the perfume.
Stirring some into the warm sauce still infuses the tomato. But the bright, sweet basil note only comes from leaves torn over the dish after it leaves the oven.
Why cover, then uncover: Foil traps steam, which carries heat through a dense cold casserole far faster than dry oven air. Once the middle is hot, removing it lets the surface dry just enough to brown. Covered throughout gives a pale wet top; uncovered throughout gives crisp edges and a cold center.
Taking the Dish From Fridge to Oven Safely
A cold casserole needs more time than a room-temperature one
Add roughly 15 to 20 minutes to the covered stage when the dish comes straight from the fridge, and keep it covered for that whole stretch. This is the most common way a make-ahead bake fails.
Heat travels inward through several inches of dense, wet pasta. A room-temperature dish starts partway done; a fridge-cold one starts near 40F, so the edges bubble long before the center catches up.
The reliable check is physical. Slide a table knife into the middle, leave it 5 seconds, and touch it to your wrist. If it is not clearly hot, give it 10 more minutes covered.
Do not put a cold glass dish into a hot oven
Glass and ceramic can crack or shatter from thermal shock, a sudden temperature swing that makes one part expand faster than the rest. A fridge-cold glass pan sliding onto a 375F rack is the textbook example.
Set the dish on the counter when you turn the oven on, so it warms during the preheat. Or start it in a cold oven and count bake time from when the oven reaches temperature.
Metal pans are immune, which makes them the safer choice if you do this often.
Chef’s Tips From Repeat Testing
Season the sauce bolder than you would for a bowl of pasta. Once the tortellini absorbs a cup of it, that seasoning stretches across far more food.
Bake on a rimmed sheet pan. It catches the inevitable bubble-over and gives the base gentler, more even heat.
Leave half an inch of headroom in the dish. This bakes with real energy, and a filled-to-the-brim pan sends sauce over the sides.
Feeding a crowd? Use two shallow dishes rather than one deep one. Depth is what makes a cold casserole slow to heat.
Recipe Variations
What to Serve With It
- Garlic bread for the sauce left in the dish
- A sharp green salad with lemon vinaigrette
- Roasted broccolini or blistered green beans
- A light red such as Chianti or Barbera
The bake is rich and soft, so everything beside it should be crisp or acidic. For the same flavors on a night you did not plan ahead, try our tomato basil pasta covers that.
Nutrition Facts
Values are estimates per serving of six, and vary with the tortellini and cheese you use.
Storage, Freezing & Reheating
Common Mistakes to Avoid
Troubleshooting
Dry and pasty after baking? Pour half a cup of hot broth over the top, cover, and return it for 10 minutes. It rescues dinner.
Soupy after the rest? Put it back uncovered for 10 more minutes. Watery tomatoes or undrained fresh mozzarella are the usual culprits.
Top browned but the middle cold? Tent with foil, drop to 325F, and give it 15 more minutes so the center catches up.
Edges dark and crusty? Liquid ran out at the perimeter first. Next time spoon extra sauce around the outside edge before covering.
Frequently Asked Questions
More Tomato Recipes to Try
Culinary Reviewer: Ghazala Shakeel