Southern Recipes
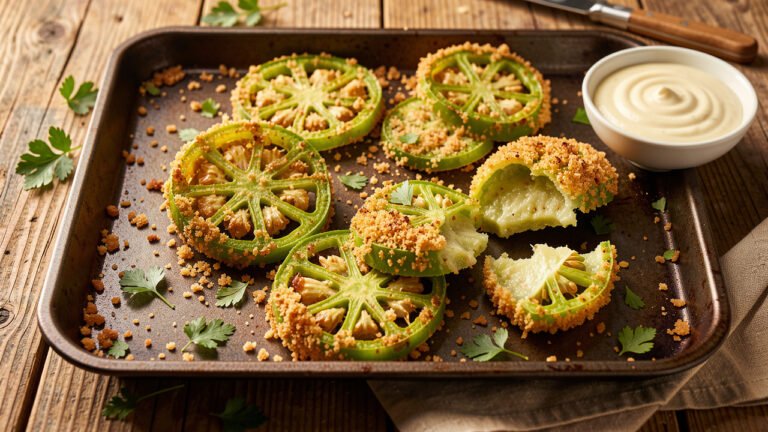
Crisp Oven-Baked Green Tomatoes, No Skillet Required
Last updated: September 29, 2026
Let me be honest with you before you turn on the oven. Baking will not give you the shattering, blistered crust you get from shallow-frying green tomatoes in a half inch of hot fat, and no oven trick fully closes that gap.
What baking does give you is a lighter version with no spitting oil, no batch-by-batch standing around, and no pan of used grease afterward. Get the details right and the crust is crisp and golden; get them wrong and you get soggy breadcrumbs on a wet tomato, which is why most oven versions disappoint people.
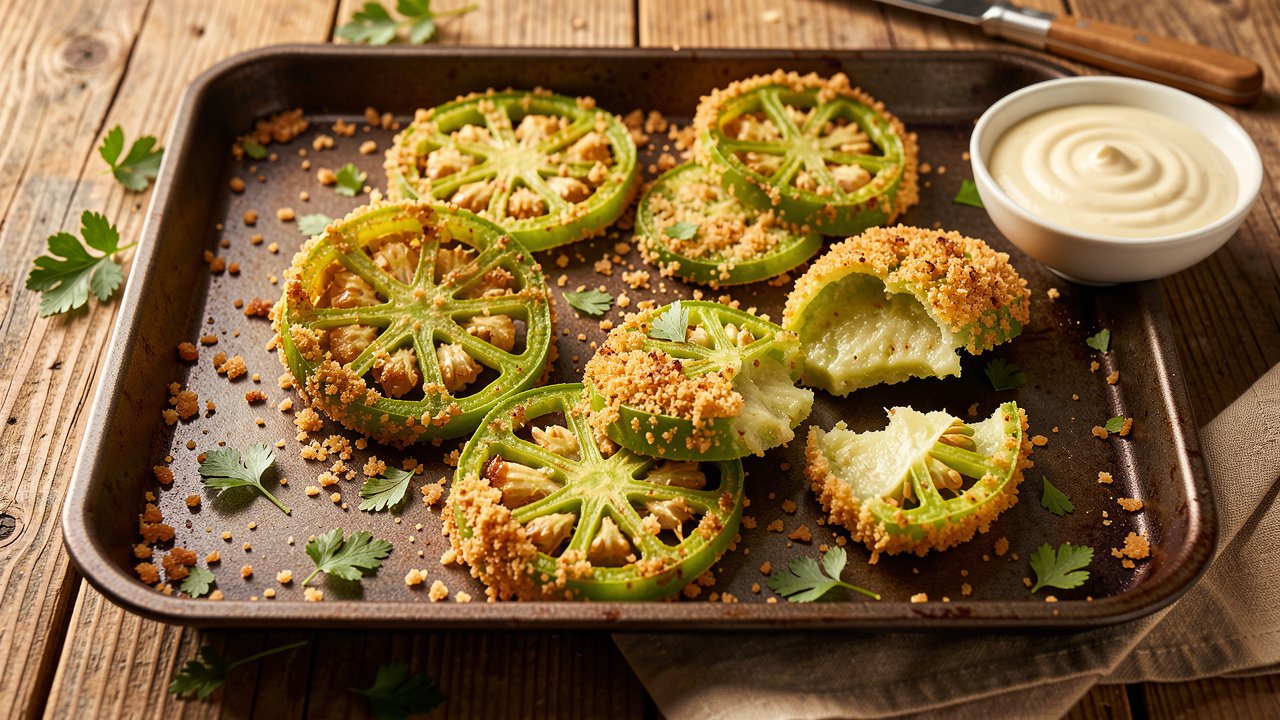
Why Oven-Baked Green Tomatoes Work, and Where They Fall Short
Frying works because hot fat surrounds every crumb at once and drives water out fast. An oven cannot do that; dry heat pulls moisture from the tomato, and that moisture has to escape past the breading, which is exactly how coatings turn pale and pasty.
So the whole method here is built around one goal: get the crumbs golden and the surface dry before the tomato has time to weep into them.
The single biggest fix is putting your sheet pan in the oven while it preheats. When a breaded slice lands on metal that is already screaming hot, the bottom starts crisping in the first few seconds instead of slowly steaming on a cool pan.
What you give up is worth naming: the deep, bubbled crust that only frying fat creates, plus a little richness. What you gain is a plate you can eat a lot more of, a kitchen that does not smell like a fry shop, and twenty hands-off minutes.
Pro observation: Listen when you lay the slices down. A faint sizzle means the surface is dry enough and the pan is hot enough, while silence means one of the two is wrong.
Ingredients
Kitchen Measurement Converter
Quickly convert between common cooking measurements without leaving the recipe. Pick a category, enter a value, and the result updates instantly.
Ingredient Notes & Substitutions
Green Tomatoes
Pick ones that feel heavy and rock hard with no blush of pink. A tomato that has started to turn is already softening inside and will slump in the oven.
Panko, Not Fine Crumbs
Panko flakes are bigger, drier, and more open than fine dry breadcrumbs, so they hold their structure and stay crisp longer. Fine crumbs pack tight and go sandy and damp in oven heat.
Cornmeal
A little medium-grind cornmeal in the crumb mix adds grit and a faint sweetness that reads as classic Southern. Skip it if you only have fine cornmeal, which turns powdery.
Parmesan
Grated Parmesan browns fast and adds the savory depth that frying fat would otherwise contribute. For a dairy-free version, use two extra tablespoons of panko.
Buttermilk in the Egg
Buttermilk loosens the beaten egg so it coats thinly instead of gluing on in globs. Regular milk works, and so does water in a pinch.
Oil
Spray oil covers the crumbs more evenly than a drizzle, and that evenness matters far more here than which fat you pick.
Equipment
- Heavy rimmed sheet pan
- Three shallow bowls
- Sharp knife and board
- Small dry skillet
- Oil sprayer or brush
- Thin metal spatula
A heavy aluminum pan is worth using here, since thin pans warp under high heat and the slices slide into whatever low spot forms.
Before You Start
1. Start the salting first. The slices need about fifteen minutes to sweat, and you can toast the crumbs and set up your dredge while that happens.
2. Put the pan in cold and heat them together. The oven and the sheet pan should reach temperature at the same time, so slide the empty pan onto the middle rack before you turn the dial.
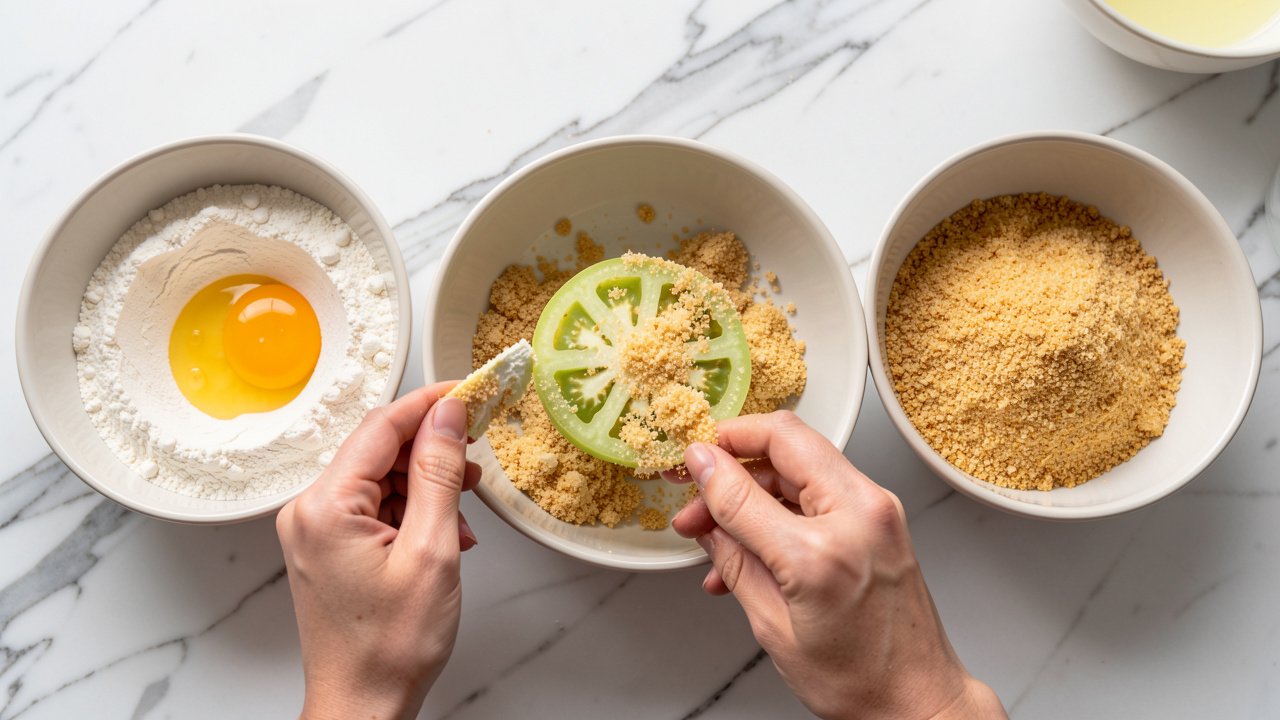
3. Line up your bowls left to right. Flour, then egg, then crumbs, in the order your hands will move, because breading gets messy fast when you are reaching across bowls.
4. Make the dipping sauce now. These are best eaten within minutes of leaving the oven, so anything you have to stir together afterward is time the crust spends softening.
How to Bake Green Tomatoes Step by Step
Slice, Salt, and Dry the Tomatoes
Cut the tomatoes into rounds between a quarter and a third of an inch thick. Thinner than that and they go limp before the crust colors; thicker and the center stays raw and squeaky.
Lay the slices on paper towels, sprinkle both sides lightly with salt, and leave them fifteen minutes until you see beads of water pull to the surface. Blot every slice firmly dry, because that surface water is what pushes breading off in sheets during baking.
Toast the Panko Before It Ever Touches a Tomato
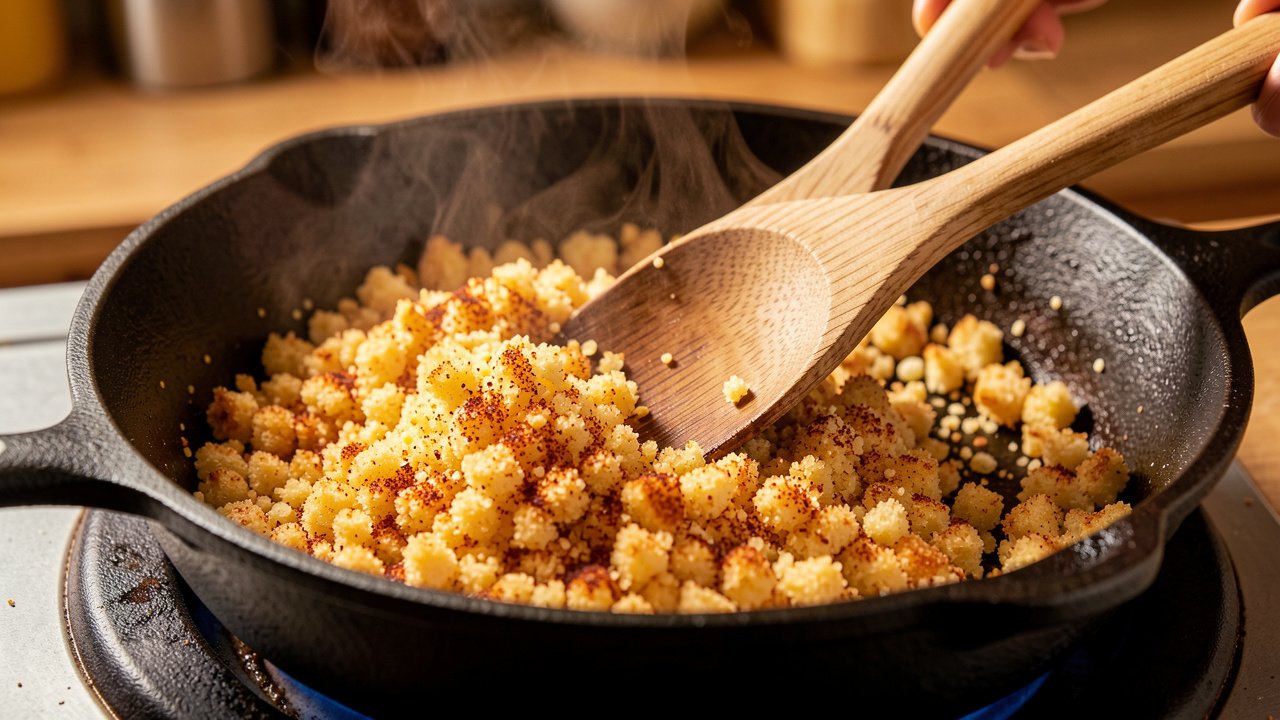
Warm a dry skillet over medium heat, add the panko, cornmeal, garlic powder, smoked paprika, pepper, and cayenne, and stir constantly for four to five minutes, adding a tablespoon of oil partway through if you want deeper color.
Stop when the crumbs smell like toast and look evenly sandy gold, then cool them a minute and stir in the Parmesan. This matters because dry raw crumbs barely brown in the short time the tomato needs, so pre-toasting is what makes baked breading actually look and taste cooked.
Heat the Oven and the Sheet Pan Together
Set the oven to 425F with the empty sheet pan on the middle rack, then give it a full fifteen minutes after the oven beeps. Ovens announce temperature long before a heavy pan actually gets there.
Dredge in Order: Flour, Egg, Crumbs
Beat the eggs with the buttermilk in the middle bowl. Put the flour in the first bowl and the toasted crumb mix in the third.
Press each slice into the flour and tap off the excess, dip it in the egg and let the drips fall away, then press it into the crumbs on both sides. The order is not arbitrary: the dry flour grips the wet tomato and gives the egg something to hold onto, and skipping it makes the coating slide off in one piece the moment you lift the slice.
Lay Them on the Hot Pan and Oil the Tops
Pull the hot pan out and set the breaded slices straight onto the bare metal, leaving at least an inch between them. Crowding traps steam between slices and steam is the enemy of every crumb on the pan.
Now spray or drizzle oil over the tops until the crumbs look damp rather than dusty. Fat is what browns and crisps breading, and a dry crumb coating in an oven simply dehydrates into chalk, so oiling the tops rather than just the pan is what makes the difference visible.
Bake Hot, Flip Once, Serve Fast
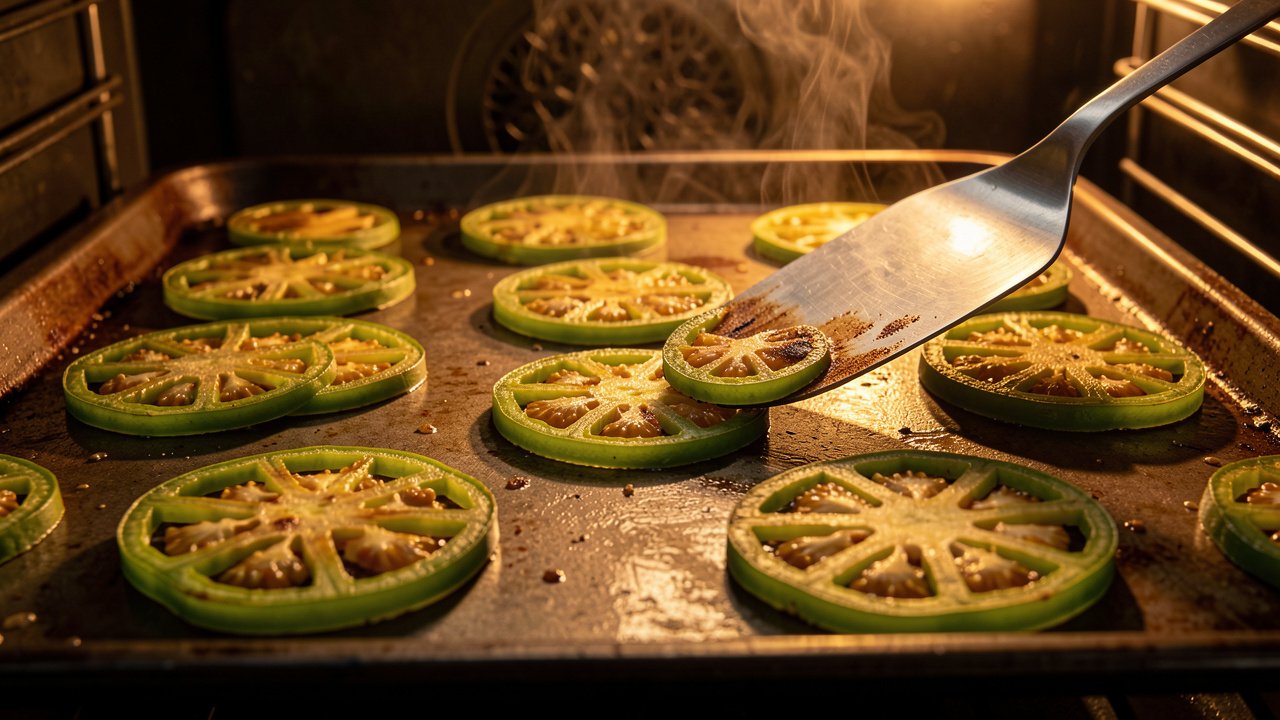
Bake 14 to 15 minutes, then slide a thin spatula under each slice and flip. Give them another 8 to 10 minutes until both sides are deep gold and the edges look dry and slightly ruffled.
They are done when a slice feels firm at the edge and gives slightly at the center under a fingertip. Move them to a rack, not a plate, so trapped steam does not undo the bottom crust, and get them to the table right away.
Chef’s Tips for a Crisp Crust in Dry Oven Heat
Hot pan over wire rack. A rack lets air circulate underneath so the bottom never sits in moisture, which gives an even but gentle crust, while a preheated pan gives real browning on the underside through direct contact. For green tomatoes I take the pan every time, because these firm slices reward color more than they reward evenness.
Bread everything before the pan comes out. Have all the slices coated and waiting on a board, then load the hot pan in one quick pass. Every second that pan sits on your counter is heat you paid fifteen minutes to build.
Use one wet hand and one dry hand. Keep your left hand for the flour and crumbs and your right for the egg. Otherwise your fingers become breaded clubs and the coating on the tomatoes gets patchy.
Push the heat if your oven runs cool. Anything in the 425F to 450F band works. Higher heat browns the crumbs faster relative to how quickly the tomato releases water, which is the whole balancing act.
Recipe Variations
Serving Suggestions
Serve them within five minutes of leaving the oven, because a plate that was crisp at minute two is merely pleasant at minute fifteen. This is a dish you carry to the table, not one you stage for a buffet.
- Comeback sauce: mayonnaise, hot sauce, and horseradish
- Stacked with fresh mozzarella and basil
- Alongside grilled shrimp or blackened fish
- On a biscuit with turkey bacon and a fried egg
If you like that tart-and-creamy pairing, our tomato mozzarella salad runs on the same instinct.
Nutrition Facts
Values are estimates per serving without dipping sauce, and vary with how heavily you oil the crumbs.
Make-Ahead Tips
The crumb mixture is the one part that genuinely benefits from being made early. Toast it up to a week ahead and keep it in a sealed jar, which turns a weeknight batch into a fifteen-minute job.
You can also slice and salt the tomatoes a few hours ahead, blot them, and hold them covered in the fridge. Do not bread them in advance, though, because coated slices sitting around go gummy as the egg soaks into the crumbs.
Storage, Freezing & Reheating
Common Mistakes to Avoid
Troubleshooting Soggy Baked Breading
Coating slid off in one sheet? The slices went into the egg still wet, or the flour step got skipped. Blot harder next time and check that each slice looks dusty white before it hits the egg.
Tops still pale after the full bake? They were under-oiled. Spray them again, return them to the top rack for three minutes, and note how much more oil it actually took.
Bottoms soft while tops are crisp? The pan was not hot enough when they went on. Finish this batch under the broiler for ninety seconds and preheat longer next time.
Centers watery and sour? The slices were cut too thick. Trim to a quarter inch and the interior cooks through in the same window the crust needs.
What Makes Green Tomatoes Right for This Method
Green tomatoes are simply unripe fruit picked before the sugars develop and the flesh softens. They carry more acid, denser flesh, and firmer pectin in their cell walls than a ripe tomato does, which is why they slice cleanly and hold a round shape under heat instead of slumping.
Ripe tomatoes, by contrast, are mostly water held loosely, so in a hot oven they collapse into sauce and flood the breading no matter how well you preheat the pan. If you have ripe fruit on the counter, cook it as fresh tomato sauce or put it up through canning crushed tomatoes instead.
The tartness earns its keep too. Without frying fat to balance, that bright acidity is what keeps each bite interesting rather than starchy, and it is why a creamy dipping sauce feels less like a garnish and more like a required partner.
Frequently Asked Questions
More Tomato Recipes to Try
Culinary Reviewer: Ghazala Shakeel