How to Transplant Tomato Seedlings: A Simple Guide for Success
Did you know tomato seedlings pop up in just 3 to 10 days? This quick growth shows how amazing these plants are. Moving your tomato seedlings from their cosy indoor pots to the great outdoors is one of the most exciting moments in gardening. It's also one of the most important steps that can make or break your tomato harvest.
Whether you're a complete beginner or just want to improve your transplanting technique, this friendly guide will walk you through everything you need to know. Transplanting doesn't have to be complicated. With a bit of preparation, the right timing, and some gentle care, your tomato plants will settle into their new home beautifully.
When to Transplant Your Tomato Seedlings
Timing is everything when it comes to transplanting tomatoes. Rush it, and your seedlings might suffer from cold shock. Wait too long, and they become root-bound and stressed. The sweet spot? When your soil temperature reaches a steady 15-18°C (60-65°F) and all danger of frost has passed.
Your seedlings are ready to move when they're about 15-20cm (6-8 inches) tall and have developed at least two sets of true leavesTrue leaves are the mature leaves that appear after the initial seed leaves (cotyledons). They look like proper tomato leaves with the characteristic shape.. They should look sturdy and healthy, not spindly or pale.
Check Your Transplanting Window
Plant your tomatoes in the late afternoon or on a cloudy day. This gives them time to settle in without immediately facing the stress of hot sunshine. Think of it like arriving at a new home - you'd prefer to unpack without a spotlight on you!
Hardening Off: The Essential First Step
Before your seedlings can face the outdoor world full-time, they need a gentle introduction. This process is called hardening offHardening off means gradually exposing indoor-grown seedlings to outdoor conditions over 7-10 days, helping them adjust to wind, temperature changes, and direct sunlight., and it's absolutely vital for success.
Your 7-Day Hardening Off Checklist
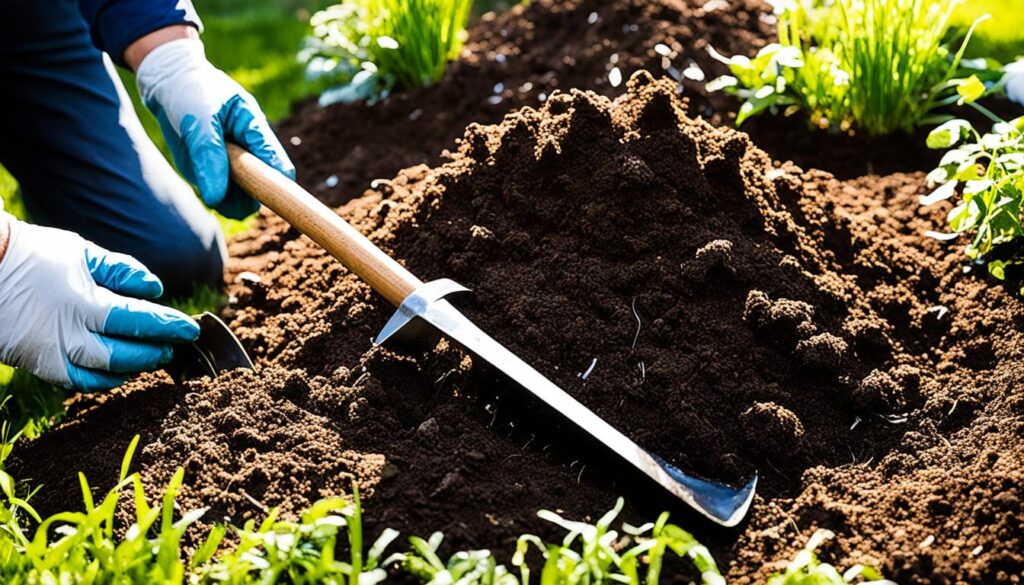
Preparing Your Soil the Right Way
Tomatoes are hungry plants that need rich, well-draining soil to thrive. Before you even think about transplanting, you need to prepare a welcoming home for your seedlings' roots.
Testing and Adjusting Soil pH
Tomatoes prefer slightly acidic to neutral soil with a pH between 6.0 and 6.8. You can pick up an inexpensive soil testing kit from any garden centre. If your soil is too acidic (below 6.0), add garden lime. If it's too alkaline (above 7.0), work in some sulphur or composted pine needles.
Adding Organic Matter
Dig over your planting area to about 30cm (12 inches) deep. Remove any weeds, stones, or debris. Mix in a generous amount of well-rotted compost or aged manure - aim for about 8-10cm (3-4 inches) spread across the surface and worked in thoroughly. This organic matter improves drainage, helps hold moisture, and lifts nutrient levels significantly.
Preparing Garden Soil
If your soil is heavy clay, add some sharp sand or perlite to improve drainage. Sandy soil benefits from extra organic matter to help retain moisture and nutrients. Work everything in well until the soil has a lovely crumbly texture.
Preparing Raised Bed Soil
Raised beds offer brilliant drainage and warm up faster in spring. Fill your beds with a mixture of 60% topsoil, 30% compost, and 10% well-rotted manure. This creates a lovely, loose growing medium that tomato roots adore. Each year, top up your raised beds with 5cm (2 inches) of fresh compost to replenish nutrients.
Choosing Container Mix
Use a high-quality multi-purpose compost mixed with a bit of perlite for drainage. Add some slow-release tomato fertiliser granules to the mix. Never use garden soil in containers - it becomes too compacted and doesn't drain properly. For extra water retention, mix in some coir or water-retaining gel granules.
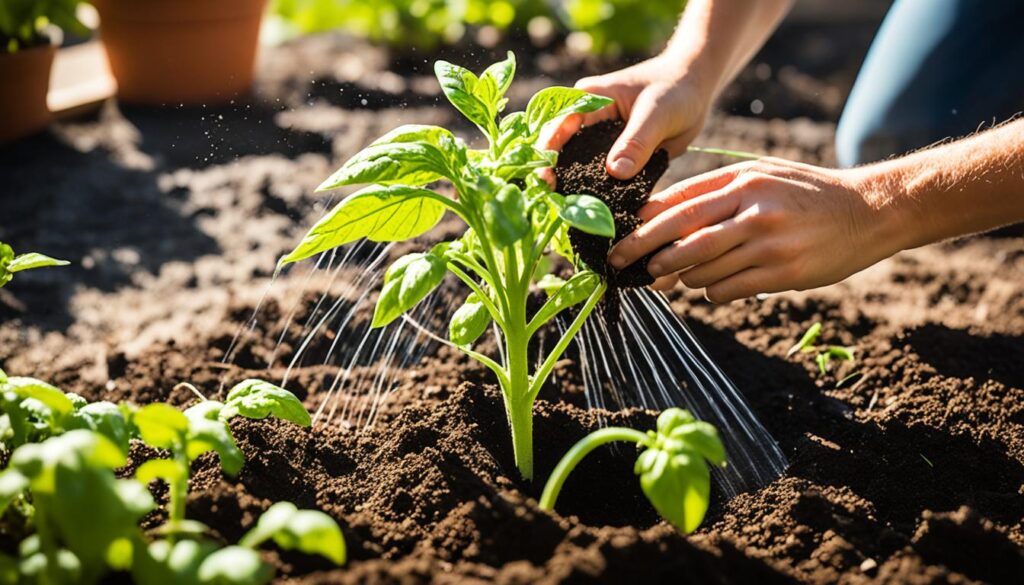
The Transplanting Process: Step by Step
Now comes the main event! With your seedlings hardened off and your soil prepared, it's time to get those tomatoes into their new home.
Transplanting Progress
Removing Seedlings from Containers
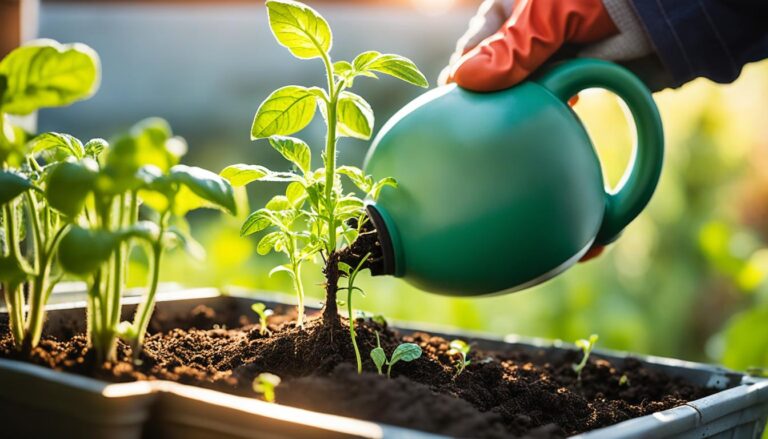
Water your seedlings thoroughly an hour before transplanting. This helps the soil stick together and makes removal easier. Gently squeeze the sides of the pot and tip it upside down, supporting the plant with your hand. The root ball should slide out cleanly. If it's stubborn, tap the pot's bottom gently - never yank the stem!
Planting Depth: Tomatoes' Secret Advantage
Here's something magical about tomatoes: they can grow roots along any part of their stem that's buried. This means you can plant them much deeper than most other plants, creating a stronger, more drought-resistant root system.
Remove the lower leaves from your seedling, leaving just the top cluster of leaves. Dig your hole deep enough that you can bury the stem up to these remaining leaves. Yes, really! If you have very leggy seedlings, you can even plant them at an angle in a shallow trench.
That buried stem will develop a whole network of roots, giving your plant a massive advantage. It's like giving your tomato plant a turbo-charged engine - more roots mean better water and nutrient uptake, stronger plants, and ultimately, more tomatoes!
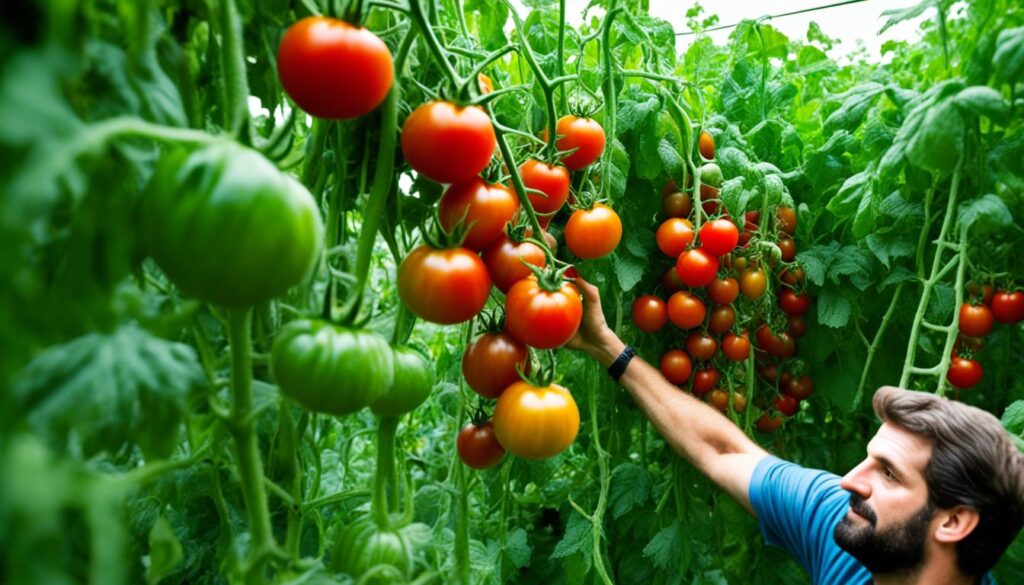
The Right Spacing for Your Tomatoes
How much space you need depends on the variety you're growing and your support method. For indeterminateIndeterminate tomatoes keep growing and producing fruit throughout the season. They need support and regular pruning to keep them manageable. varieties grown on stakes or trellises, space plants 45-60cm (18-24 inches) apart. Tomatoes in cages need more room - aim for 90-120cm (3-4 feet) between plants.
Plant Spacing Calculator
For indeterminate varieties grown on stakes or trellises, space plants 45-60cm (18-24 inches) apart. This gives you good air circulation while maximising your growing space. Make sure your stakes are at least 1.8m (6 feet) tall.
Tomatoes in cages need more room - aim for 90-120cm (3-4 feet) between plants. They'll bush out more, and you need space to reach in for harvesting without damaging neighbouring plants.
DeterminateDeterminate (bush) tomatoes grow to a set height, produce all their fruit at once, then stop. They're more compact and need less pruning. or bush varieties can be planted slightly closer at 60-75cm (24-30 inches) apart. These compact plants don't sprawl as much as indeterminate types.
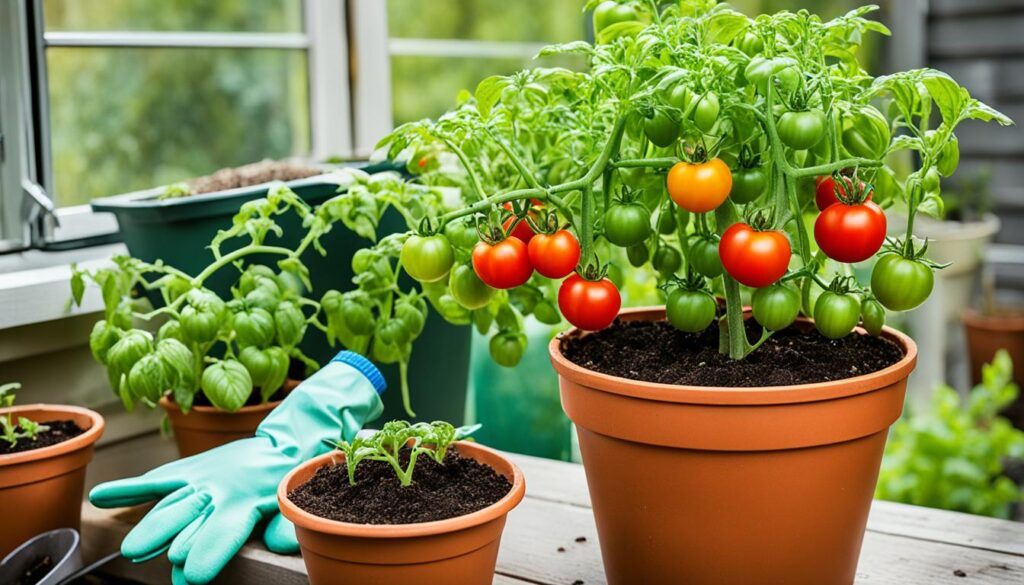
Container Growing: Perfect for Small Spaces
No garden? No problem! Tomatoes grow brilliantly in containers, and some varieties are specifically bred for pot culture. Even if you only have a balcony or patio, you can still enjoy fresh homegrown tomatoes.
Choosing the Right Container
Size matters when it comes to container tomatoes. Aim for at least 50cm (20 inches) in diameter and depth. Bigger is always better - more soil means more consistent moisture and nutrients. Make sure your container has plenty of drainage holes in the bottom.
Supporting Container Tomatoes
Even compact varieties need some support. Insert stakes or cages when you plant - not later when you risk damaging roots. For balconies or patios, consider a sturdy tomato tower that won't blow over in the wind.
Watering and Mulching Your Transplants
Getting watering right makes all the difference between struggling plants and thriving ones. The goal is consistent moisture - not too wet, not too dry.
Watering Techniques That Work
Water at the base of plants, never overhead. Wet foliage invites fungal diseases. A soaker hose or drip irrigation is ideal, but a watering can aimed at the soil works perfectly well too.
For the first week after transplanting, water every day to help roots establish. After that, deep watering 2-3 times a week is better than daily sprinkling. You want water to penetrate 15-20cm (6-8 inches) deep to encourage deep root growth.
Watering Guide Calculator
The Magic of Mulching
Once your transplants are settled (after about a week), spread a 5-8cm (2-3 inch) layer of mulch around each plant. Keep it a few centimetres away from the stem to prevent rot.
Good mulch options include straw, dried grass clippings (pesticide-free), shredded leaves, or compost. Mulch keeps soil moist, suppresses weeds, regulates soil temperature, and prevents soil-borne diseases from splashing onto lower leaves.
Quick Mulching Checklist
✓ Use 5-8cm (2-3 inches) depth
✓ Keep 5cm away from plant stems
✓ Refresh mulch mid-season if it breaks down
✓ Water before mulching for best results
Common Transplanting Problems (And How to Fix Them)
Why it happens: Transplant shock is normal! Plants need time to adjust.
The fix: Provide shade for 2-3 days using a sheet or shade cloth. Water consistently. Most plants perk up within a week. If wilting persists beyond 5 days, check for root damage or pests.
Why it happens: Lower leaves turning yellow is often nitrogen deficiency, or it can be overwatering.
The fix: Feed with a balanced liquid fertiliser. Check soil moisture - it should be damp but not soggy. Remove any yellow leaves so the plant focuses energy on new growth.
Why it happens: Usually cold stress or phosphorus deficiency.
The fix: If temperatures are below 15°C at night, protect plants with fleece. Once it warms up, the purple usually fades. If it persists in warm weather, apply a phosphorus-rich fertiliser.
Why it happens: Plants are putting energy into root establishment rather than leaf growth.
The fix: Be patient! The first 2-3 weeks after transplanting, plants often seem to "sit still." Then suddenly they take off. Keep watering consistently and don't over-fertilise - let them settle in at their own pace.
Caring for Your Transplants
Pruning and Training
Once your plants reach about 30cm (12 inches) tall, start removing the lower leaves up to about 20cm from the ground. This improves air circulation and prevents soil-borne diseases from splashing onto foliage.
For indeterminate varieties, pinch out suckersSuckers are side shoots that grow between the main stem and leaf branches. Removing them focuses the plant's energy into fruit production. regularly to maintain one or two main stems. Determinate varieties need less pruning - just remove damaged leaves and maintain good airflow.
Tomato Growth Timeline
Feeding Your Growing Plants
Two weeks after transplanting, start feeding with a tomato fertiliser. Choose a balanced feed initially, then switch to a high-potassium formula once flowers appear. This encourages fruit production.
Feed weekly or fortnightly depending on the product instructions. Container-grown tomatoes need more frequent feeding as nutrients wash out with watering.
Protecting Your Plants from Pests and Diseases
Prevention is always better than cure. Good spacing, proper watering, and regular inspection keep most problems at bay.
Aphids: Small green or black insects that cluster on new growth. Spray off with water or use insecticidal soap.
Whitefly: Tiny white flies on undersides of leaves. Yellow sticky traps work well, or introduce parasitic wasps.
Tomato hornworms: Large green caterpillars that can strip plants. Hand-pick them off (they're quite striking to look at!).
Slugs and snails: Munch seedlings overnight. Use copper tape, beer traps, or go out with a torch after dark.
Blight: Brown patches on leaves, often in wet conditions. Remove affected leaves immediately. Copper-based fungicides can help.
Blossom end rot: Black patches on fruit bottoms. Caused by calcium deficiency or irregular watering. Maintain consistent moisture and add crushed eggshells to soil.
Powdery mildew: White powder on leaves. Improve air circulation and avoid overhead watering.
Leaf curl: Often caused by aphids or environmental stress. Check for pests and ensure plants aren't water-stressed.
Companion Planting for Healthier Tomatoes
Tomatoes thrive when planted near certain companion plants that deter pests, attract beneficial insects, or improve soil.
Great companions: Basil (improves flavour and deters flies), marigolds (repel aphids), nasturtiums (trap aphids away from tomatoes), carrots (aerate soil), onions (deter pests).
Avoid planting near: Brassicas (cabbage, broccoli), fennel, potatoes (share diseases), or walnuts (toxic to tomatoes).
Key Takeaways
- Time your transplanting when soil reaches 15-18°C and frost danger has passed
- Always harden off seedlings gradually over 7-10 days before transplanting
- Plant tomatoes deep - they'll grow roots along the buried stem for a stronger plant
- Space plants according to variety and support method: 45-60cm for staked, 90-120cm for caged
- Water consistently at the base of plants, never overhead
- Mulch after transplanting to retain moisture and prevent disease
- Container tomatoes need pots at least 50cm wide with excellent drainage
- Remove lower leaves once plants establish to improve air circulation
- Feed regularly once plants settle in, switching to high-potassium feed at flowering
- Monitor for pests and diseases - catch problems early for easiest treatment
Frequently Asked Questions
Transplant tomato seedlings when the soil temperature reaches 15-18°C (60-65°F). Wait until all danger of frost has passed and your seedlings have been properly hardened off for about a week. The seedlings should be 15-20cm tall with at least two sets of true leaves.
Plant tomato seedlings deep, burying the stem up to the first set of true leaves. Remove lower leaves before planting. The buried stem will develop additional roots, creating a stronger, more resilient plant. For very leggy seedlings, you can even plant them at an angle in a shallow trench.
Transplant in the late afternoon or on a cloudy day to reduce stress on the plants. This gives them time to adjust before facing full sun. Avoid transplanting during the hottest part of the day or in direct midday sunshine.
Absolutely! Tomatoes grow excellently in containers. Use containers at least 50cm (20 inches) wide and deep with drainage holes. Fill with quality potting compost (never garden soil), and provide proper support with stakes or cages. Container tomatoes need more frequent watering and feeding than in-ground plants.
Water deeply immediately after transplanting. For the first week, water daily to help roots establish. After that, water deeply 2-3 times a week rather than light daily watering. The goal is consistent soil moisture - damp but not waterlogged. Container tomatoes may need daily watering in hot weather.
Some wilting after transplanting is normal - it's called transplant shock. Provide shade for 2-3 days and keep soil consistently moist. Most plants recover within a week. If wilting persists beyond 5 days, check for pests, root damage, or watering issues.
Yes, once plants establish (after 1-2 weeks), remove lower leaves up to about 20cm from the ground. This improves air circulation, prevents soil-borne diseases from splashing onto leaves, and allows the plant to focus energy on new growth and fruit production.
Wait two weeks after transplanting before feeding to let roots establish. Start with a balanced tomato fertiliser, then switch to a high-potassium formula once flowers appear. Feed weekly or fortnightly depending on the product. Container tomatoes need more frequent feeding as nutrients wash out with watering.
Related Articles
Expert References & Further Reading
- Royal Horticultural Society - Growing Tomatoes - Comprehensive growing guide from the UK's leading horticultural authority
- Oregon State University Extension - Tomato Growing Guide - Research-based information on tomato cultivation
- Wikipedia - Tomato - Botanical and agricultural information about tomatoes
- Gardeners.com - Transplanting Tomatoes - Practical transplanting techniques from experienced gardeners
- Thompson & Morgan - Planting Out Tomatoes - Expert advice from leading UK seed suppliers
Shakeel Muzaffar is the founder of TomatoAnswers.com, a gardener, and a content writer. He combines hands-on tomato growing experience with evidence-based research from horticultural and nutrition sources. His work focuses on tomato cultivation, nutrition, and practical gardening advice, helping readers grow healthier plants and make informed food choices